Create A ticket
A ticket is a task or work item that you can assign to colleagues and track the progress.
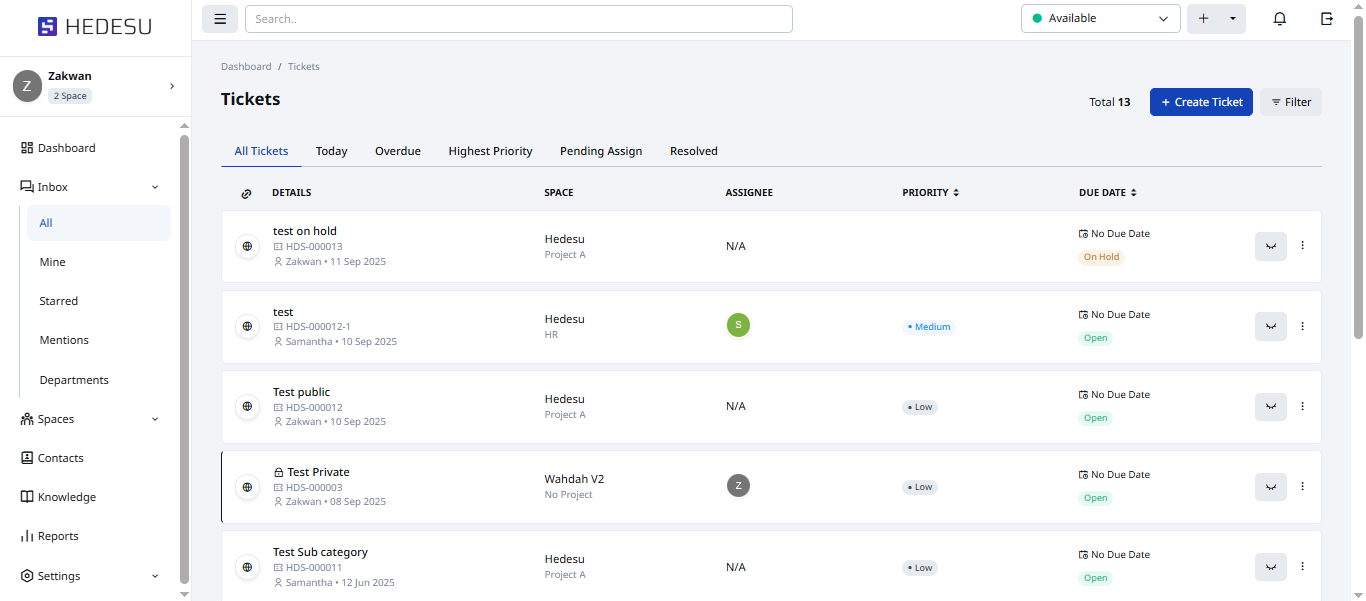
PATH: INBOX > ALL
Follow these steps to create a ticket:
Click Create Ticket to start.
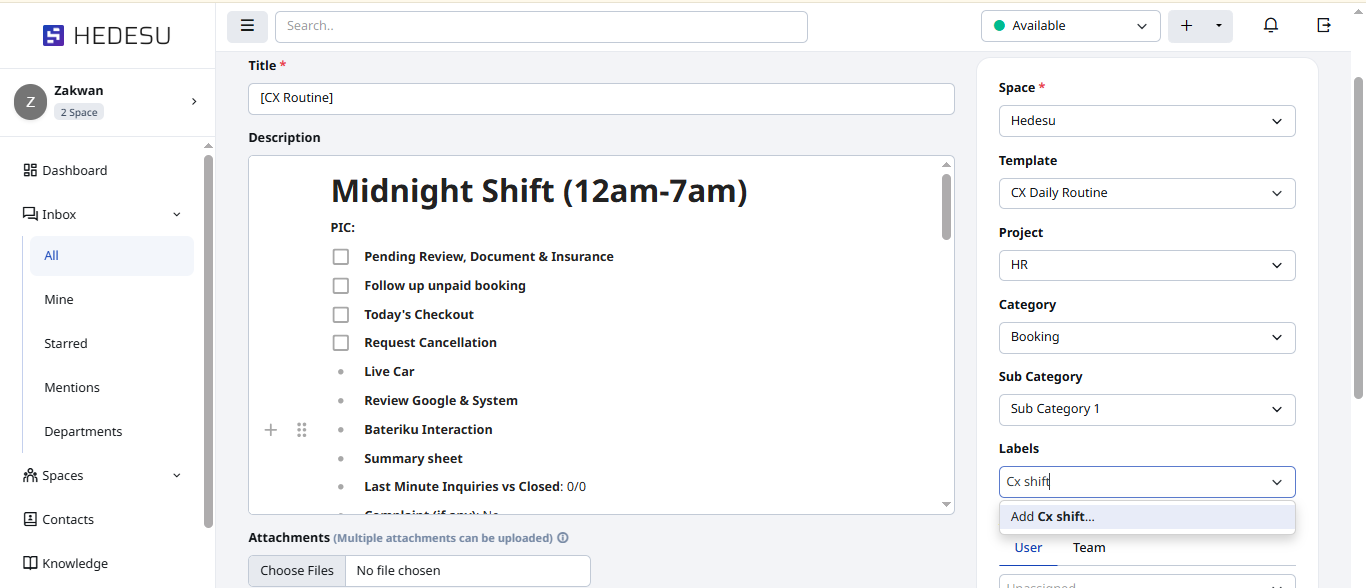
Fill in the ticket details and upload attachments if needed.
Note: We only support file type PNG,JPG,PDF,SCV and xlsx.
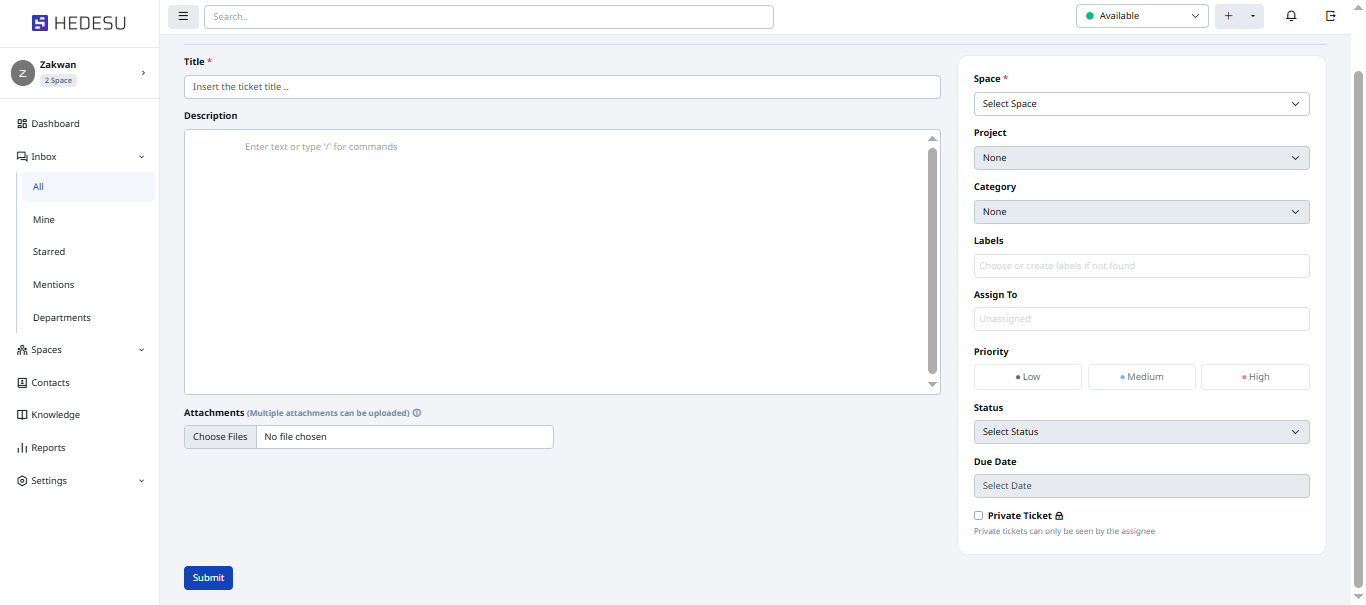
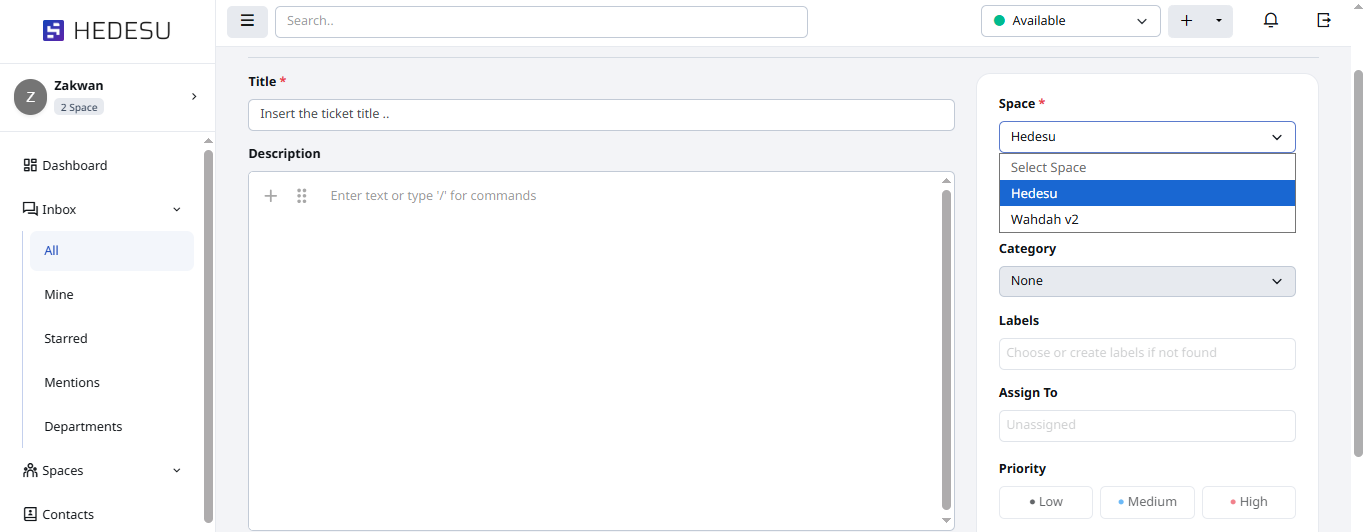
Select the Space where you want to attach the ticket.
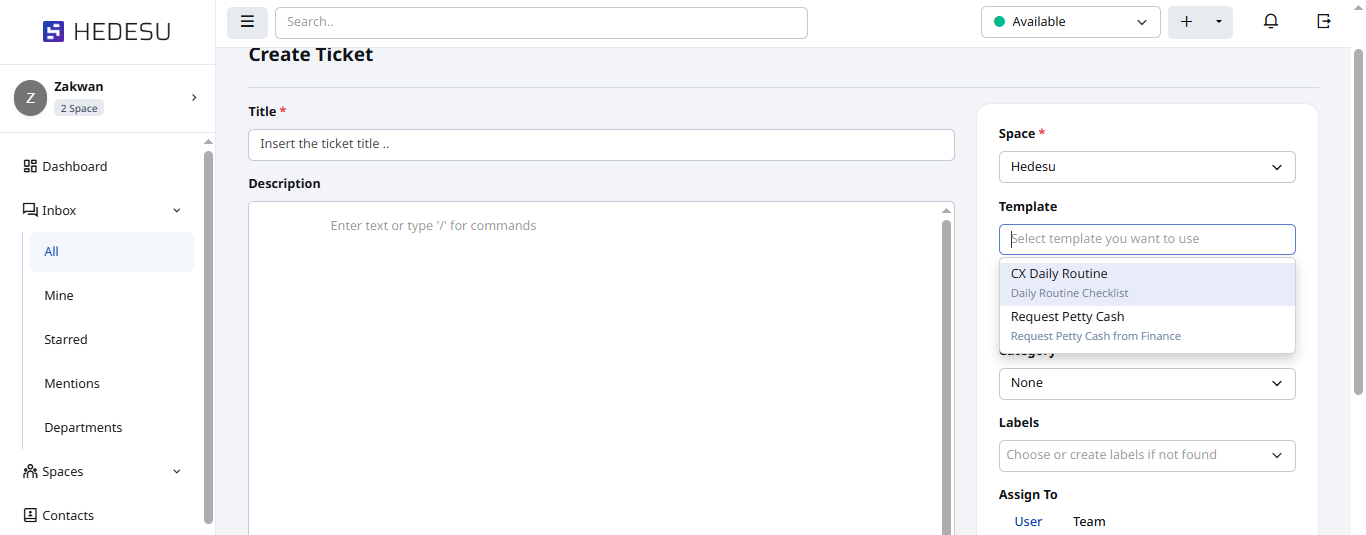
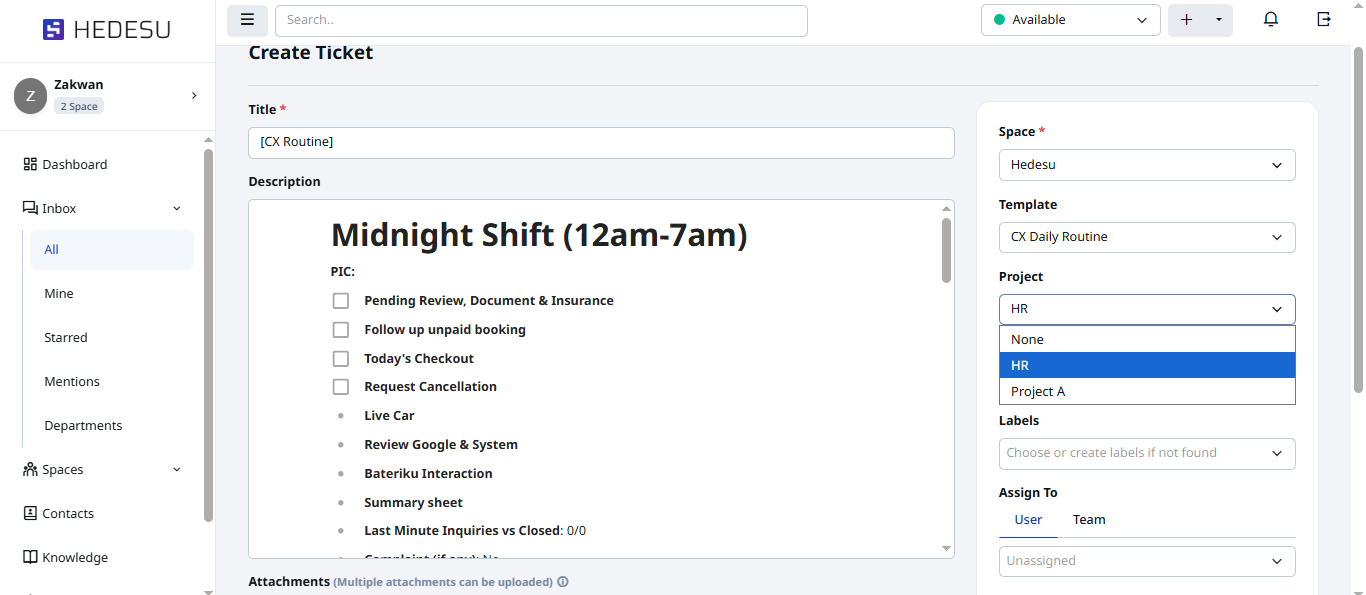
Choose a Template and its details will appear in description box.
Select a project where you want this ticket to be placed.
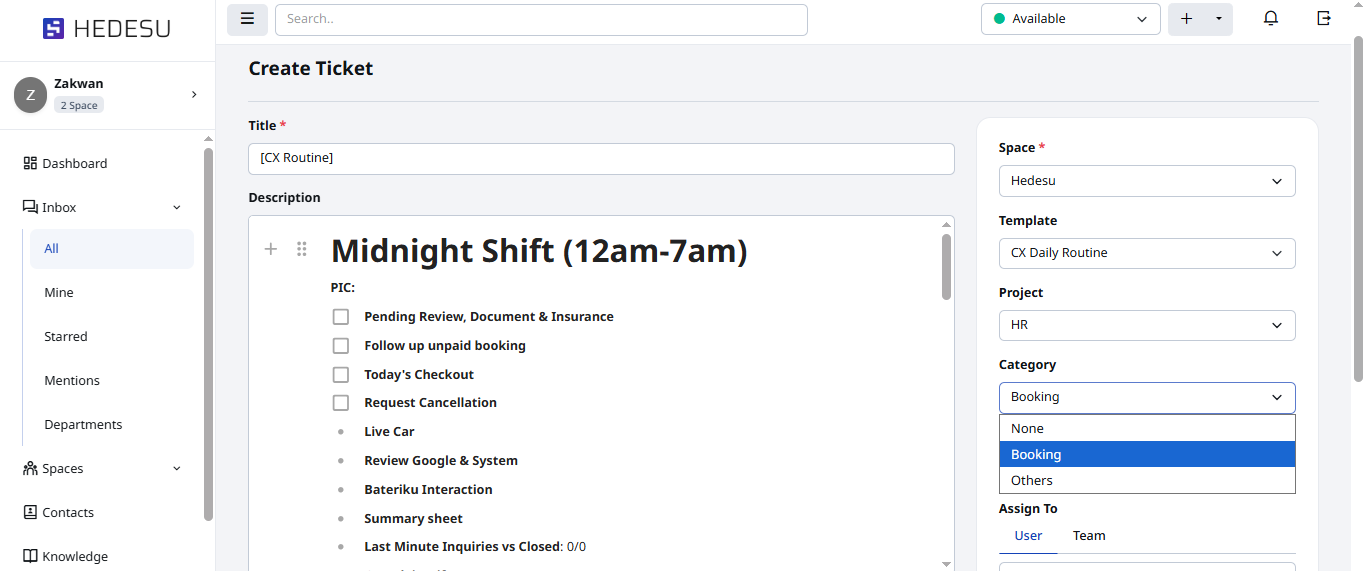
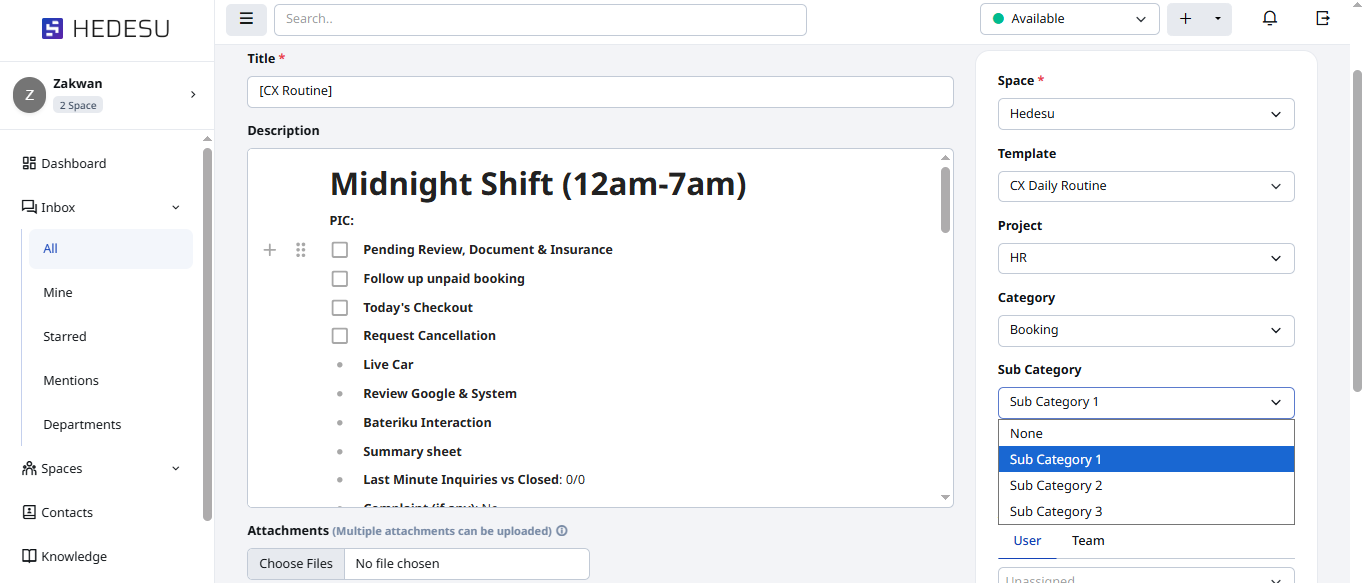
Select a Category (and sub-category, if available).
Select a Label or add a new one by typing it and click Add.
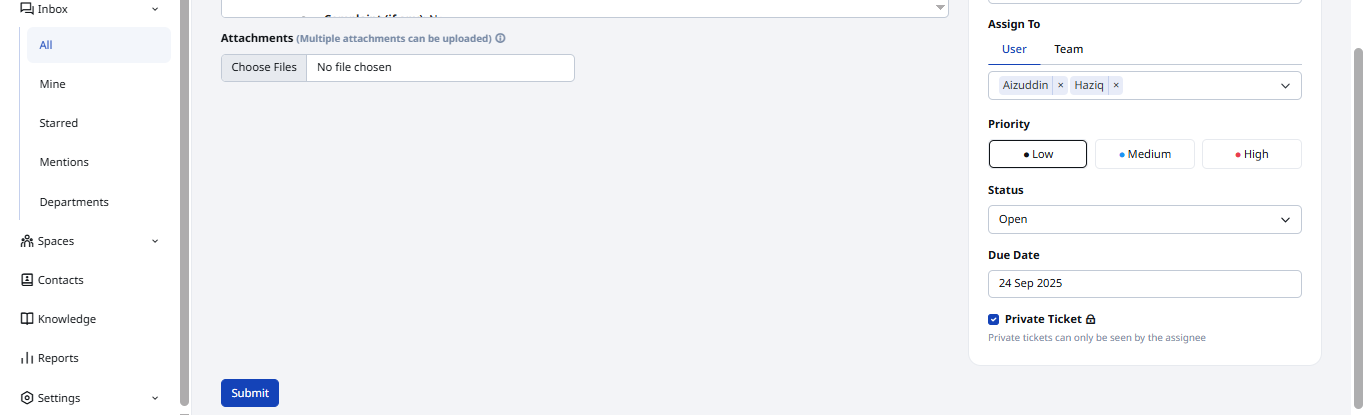
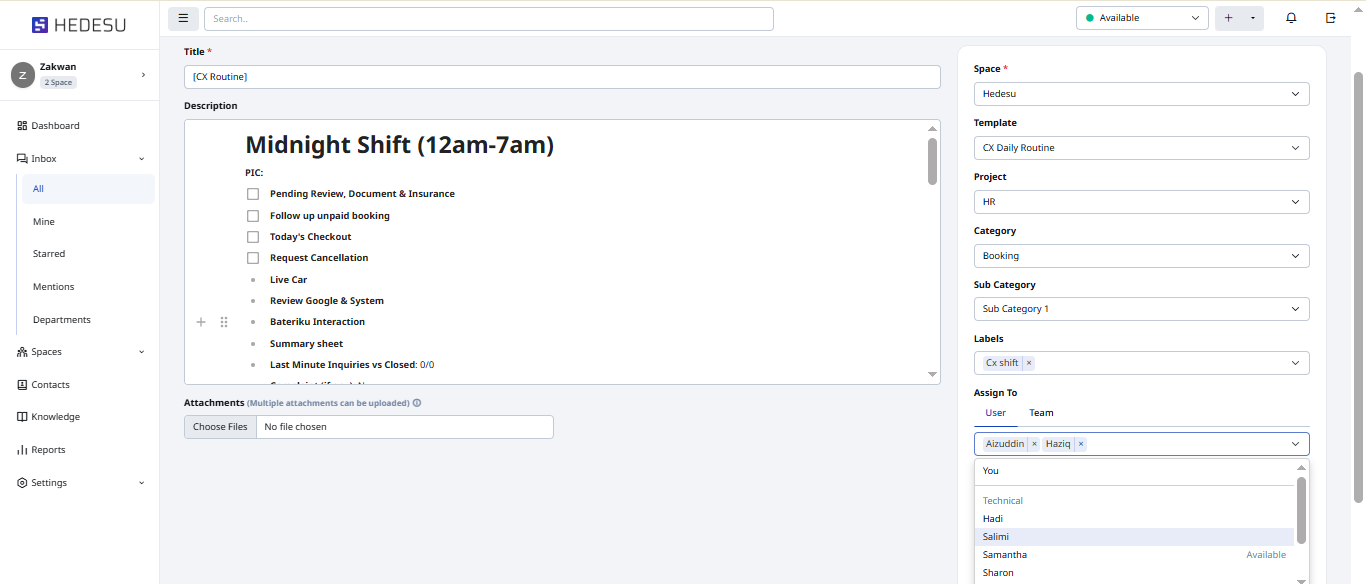
Assign the ticket to the users or team in the same space.
Note: The assignee will get an email after the ticket has been created.
Now set Priority of the ticket.
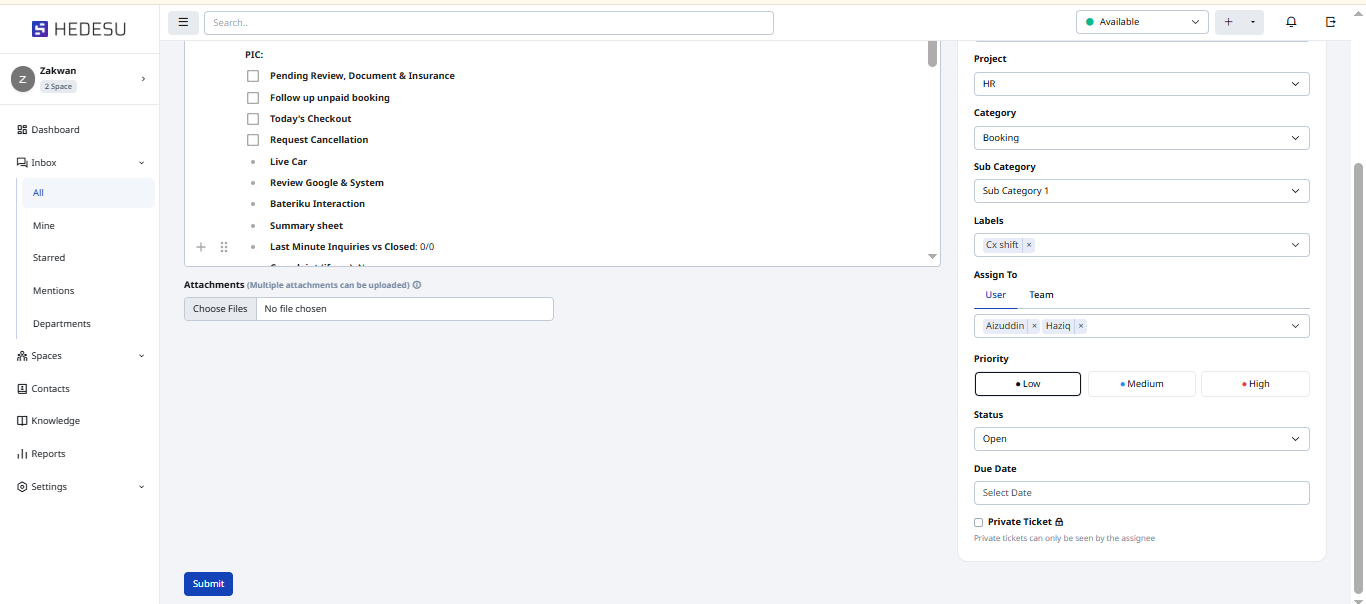
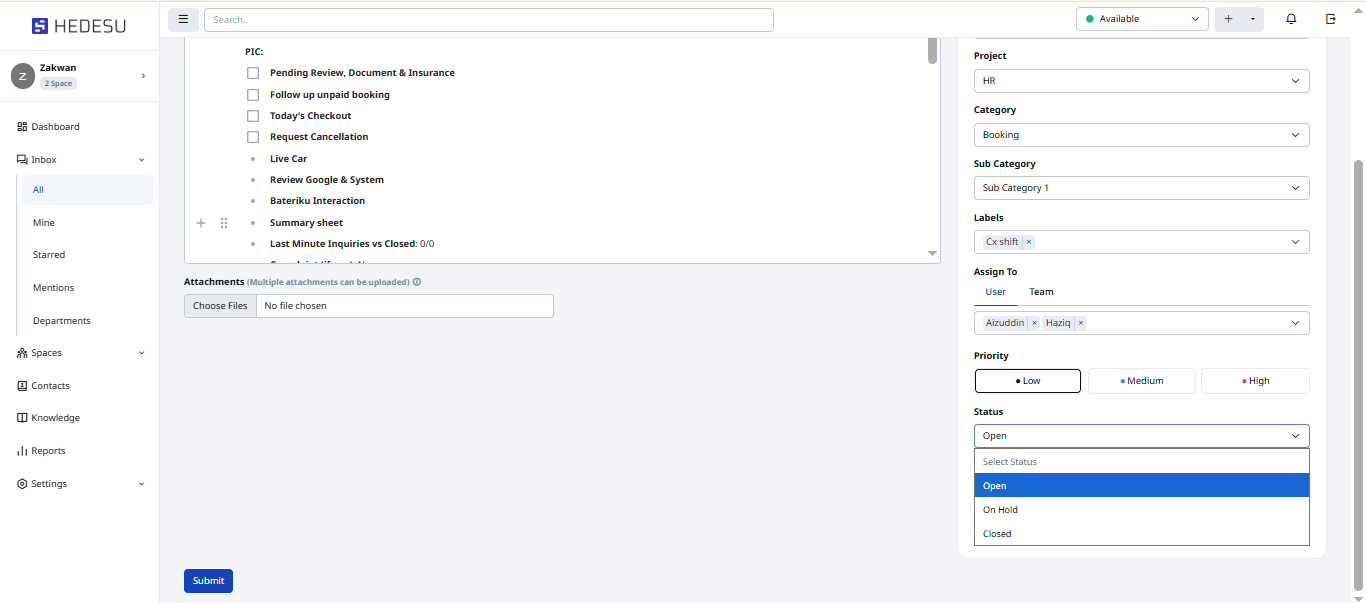
Select the Status of a ticket. The status listing may vary based on the project.
For the setting up status for project you can go to:
PATH: SPACE > SELECT A SPACE > ACTION > SETTINGS
Select your project and click the Ellipse icon to see the available action, then click Settings.
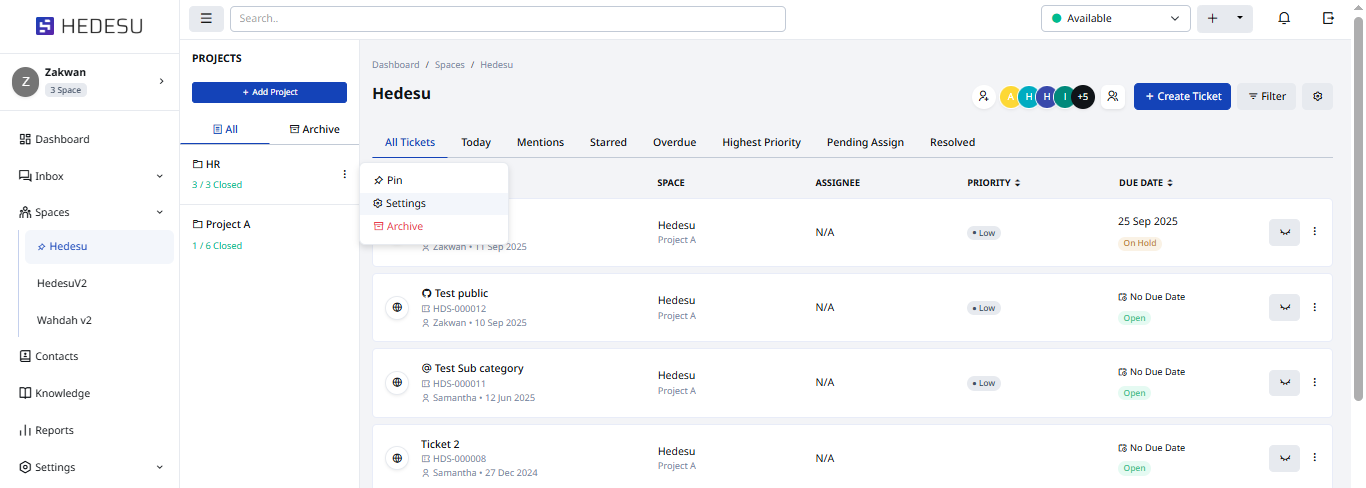
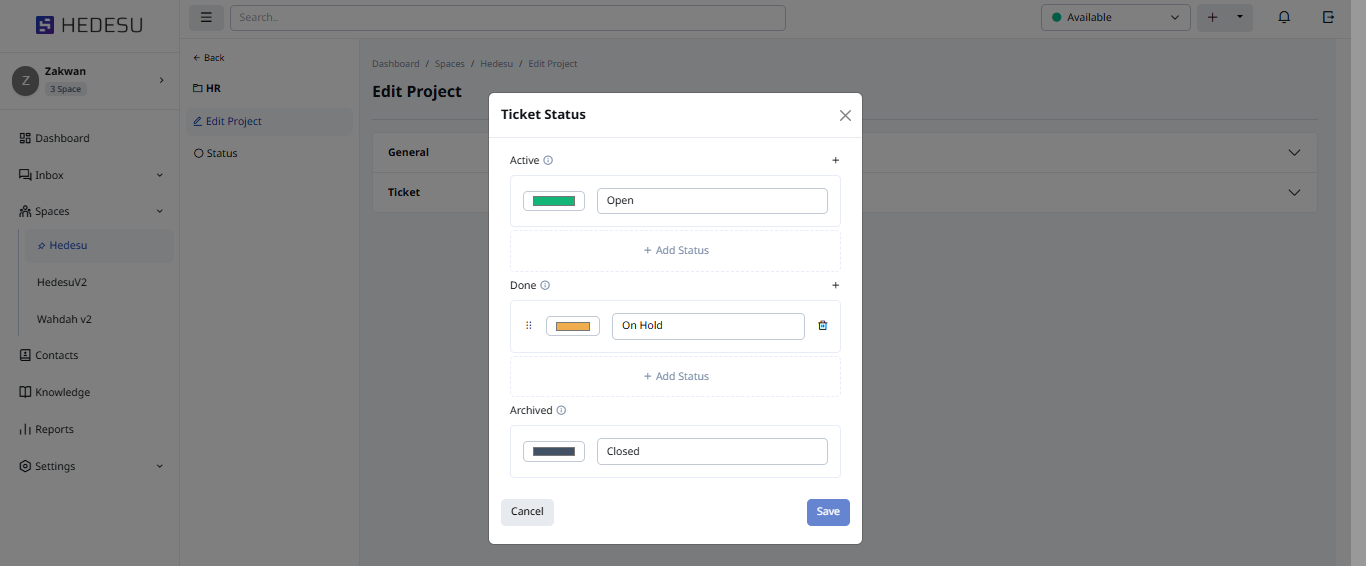
Click Status and edit to your preference then click Save.
Next, add a Due Date for the ticket if required.
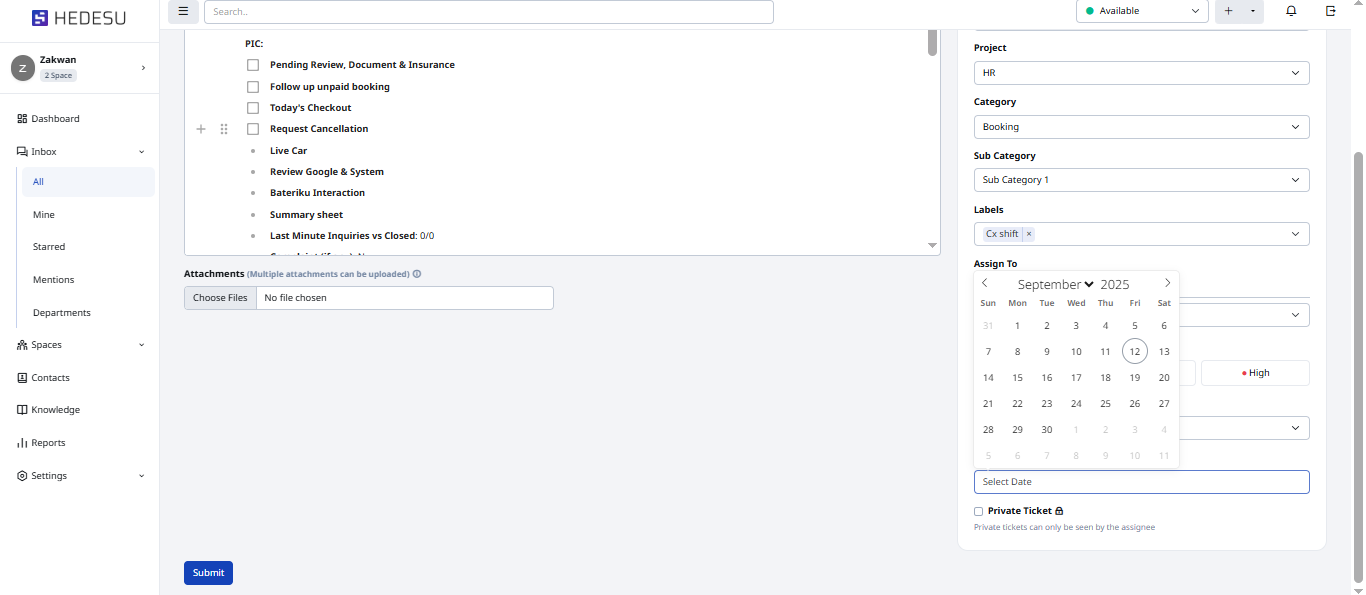
(Optional) Enable Private Ticket by ticking the checkbox with the lock icon. This make it visible only to the ticket creator, assignee, and admin of a space.
Click the Submit button after it is done.